The logs in the Secure Exchanges online portal allow you to view all activities related to your messages: sends, opens, downloads, signatures, IP addresses, and more. You can also delete a message before it expires and export your logs for archiving or internal audits.
View my logs in the online portal
1. Access the logs
- Sign in to the Secure Exchanges online portal.
- Once logged in, click “Statistics and logs.”
- You will see all available search and filtering options.
2. Search for messages in the logs
To display your records:
- Select the search period: enter a start date and an end date.
- Click Search: the list of messages sent during the selected period will appear.
The logs include, among other things:
- date and time of sending;
- recipient(s);
- message status;
- number of opens;
- expiration date;
- IP address associated with each interaction.
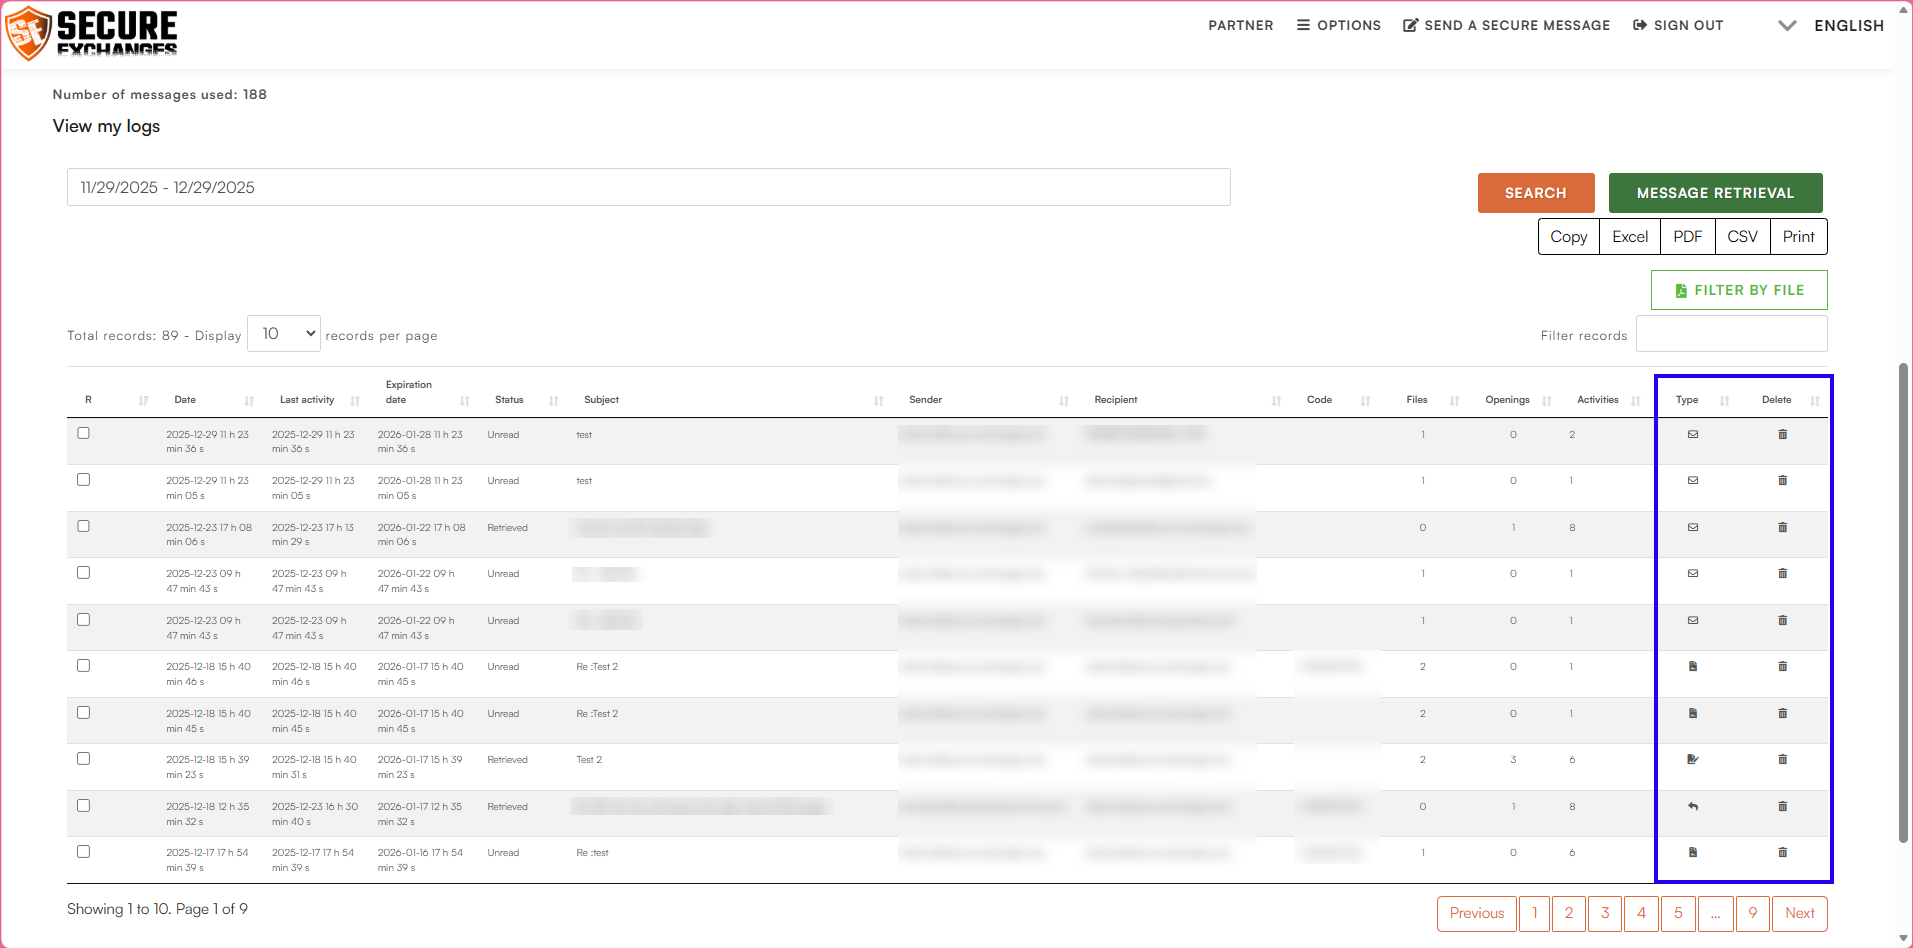
3. Understanding the log columns
| Column | Description |
|---|---|
| R | Internal message reference (unique identifier). |
| Date | Date the secure message was sent. |
| Last activity | Most recent action performed by the recipient (open, download, signature, etc.). |
| Expiration date | Date on which the message will be automatically deleted. |
| Status | Indicates whether the message is Opened, Not opened, Expired, Deleted, etc. |
| Subject | Subject of the sent message. |
| Sender | Your email address associated with the send. |
| Recipient | Email address(es) of the recipient(s). |
| Code | Associated security code (password or SMS, if applicable). |
| Files | Number of attached files available for viewing. |
| Openings | Number of times the message was opened. |
| Activities | Displays actions performed: opens, downloads, access, etc. |
| Type | Type of send (message, signature, reply, etc.). |
| Delete | Allows immediate revocation of access. |
4. Manually delete a message
To immediately delete a secure message:
- Locate the message in the logs.
- Click the trash icon in the Delete column.
- This instantly revokes access to the message, even if:
- it has not reached its maximum number of opens;
- it has not yet expired.
5. View IP address details
By clicking on an IP address in the activity list, you can view information such as:
country of origin;
city;
region;
internet service provider (based on available data).
This feature is useful to:
detect unusual behavior;
validate the origin of an access;
ensure compliance and communication security.
 Restricted access
These detailed IP information features are reserved for users with an administrator role and a Pro license.
6. Export your logs
You can export your logs using the buttons on the right side of the page.
Available formats:
Excel (.xlsx) – ideal for data analysis and filtering
PDF (.pdf) – perfect for archiving or reporting
CSV (.csv) – for integration with other tools or systems
Copy / Print – to copy or print directly from the portal

Related Articles
View a user’s logs
The event log allows administrators to track actions performed by users in Secure Exchanges. Step 1 – Access user management Log in to your account via the Secure Exchanges online portal. Click Options → User Management. You will see the complete ...Send a secure message from the online portal
The Secure Exchanges online portal allows you to send a secure message without using your email application (Outlook, Gmail, etc.). Here’s how to proceed. 1. Sign in to the online portal Sign in to your account, then click Send a secure message. Once ...View user statistics
Secure Exchanges has introduced a new feature that allows administrators to view detailed statistics on user activity. This feature is available through the online portal under the “User statistics” section and provides clear insights into how the ...View and retrieve my invoices
You can view and download your invoices by logging into your Secure Exchanges online portal. How to access your invoices 1. Go to the Invoices section Log in to your account on the Secure Exchanges online portal. If you are unsure how to log in, ...Change the time zone of my account
The time zone set in your Secure Exchanges account ensures that local time is displayed correctly across all your activities: sends, logs, signatures, downloads, and notifications. It’s important that this setting matches your region so timestamps ...