Overview of my account management options
The Secure Exchanges online portal allows you to manage several aspects of your account, including your user profile, security settings, and usage preferences. Below is a clear and structured overview of all the options available in your user space.
1. License Details (left column)
- License *Indicates the type of license associated with your email address.
- Expiration date *Displays the exact date and time your license expires, corresponding to the automatic renewal date.
- Email *The email address to which your Secure Exchanges license is assigned.
- Cell number *Phone number used for security purposes (SMS, two-factor authentication, protected replies).
- Activate 2FA authentication *Checkbox allowing you to enable two-factor authentication when logging in to the online portal.
- Default SMS country *International prefix used by default when protecting a message with an SMS code.
- Return protection *Available options depend on your license type. These features are available only with Pro licenses.
- SMS: the recipient must enter a code sent by SMS to reply securely.
- Microsoft: protection based on Microsoft identity authentication.
2. Personal Information (right column)
- First name *Field used to update your first name.
- Last name *Field used to update your last name.
- Time zone *Determines your local time for logs, signatures, and timestamps.
- Date format culture *Adjusts how dates are displayed based on your region (e.g., French – Canada).
3. Usage Tracking (bottom of the right column)
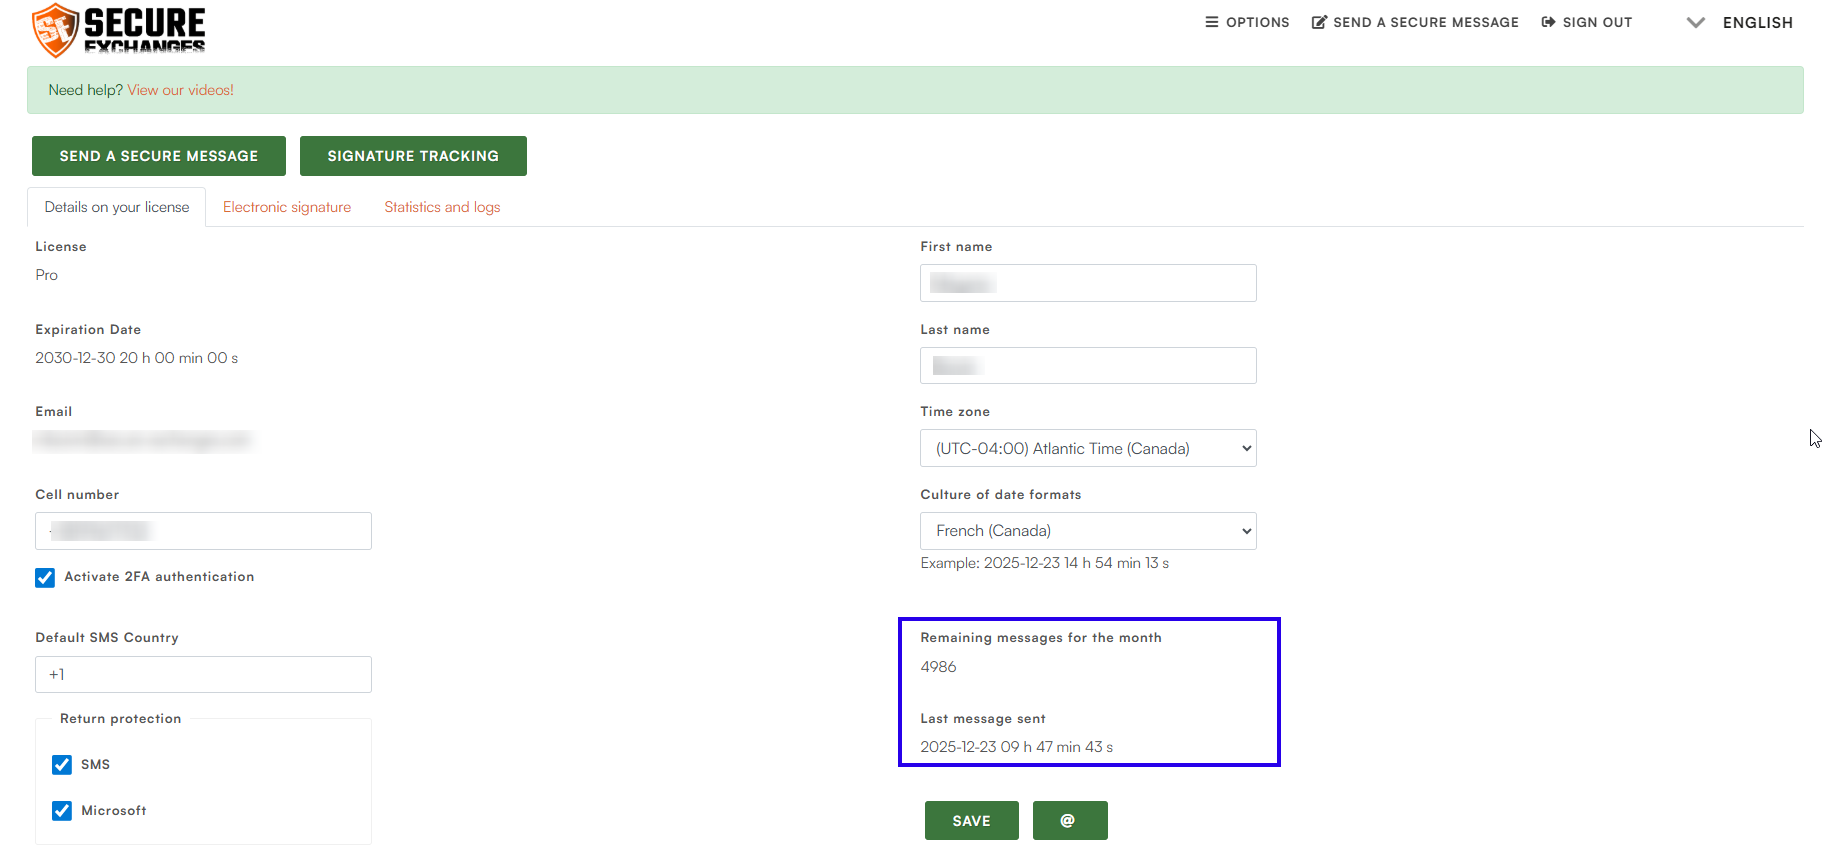
- Remaining messages for the month *Displays the number of messages still available.

- Last message sent *Shows the date and time of your most recent Secure Exchanges message.
4. Saving Your Settings
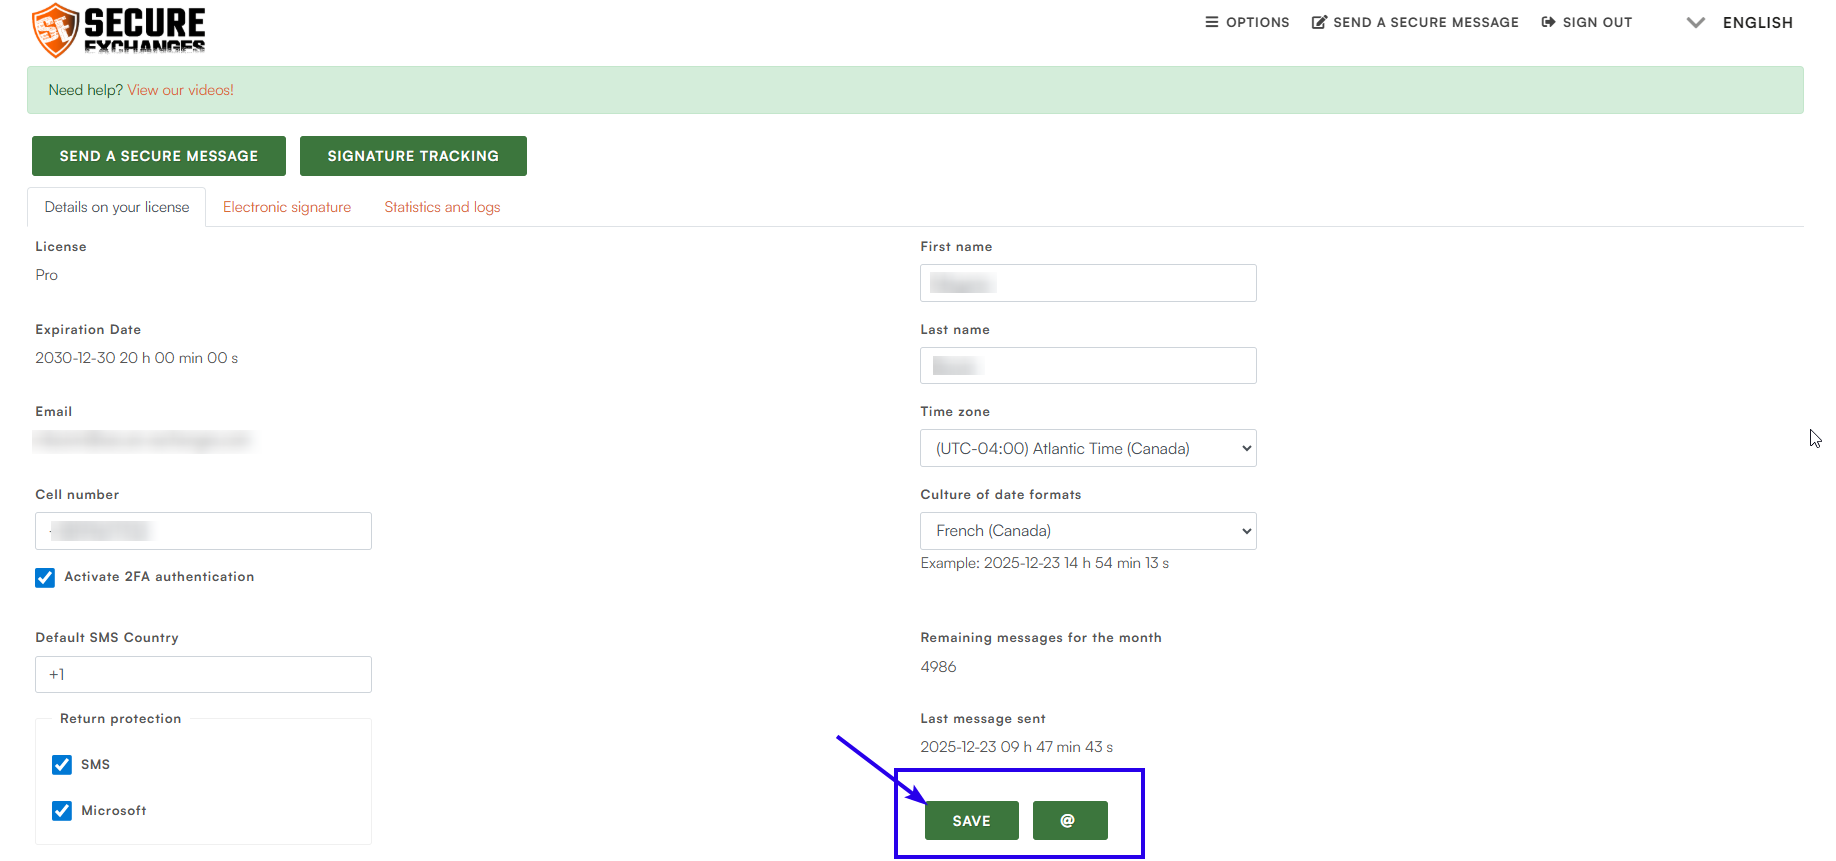
- SAVE button *Saves all changes made to your account settings.
5. Quick Actions Area (top of the page)
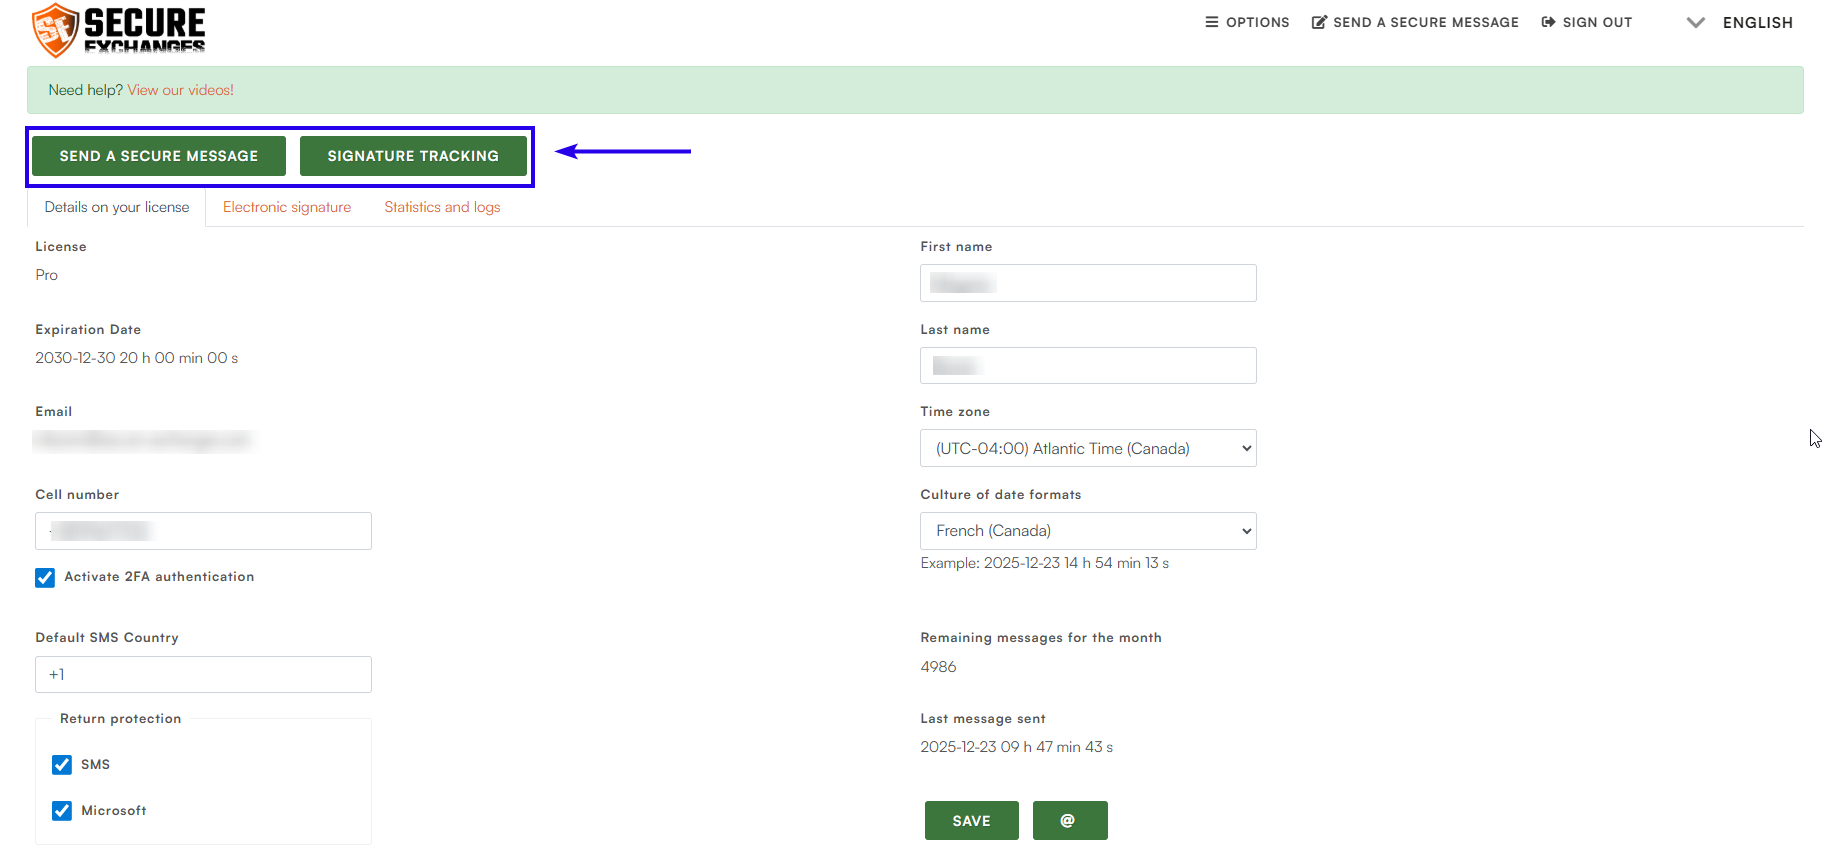
Send a secure message
Direct access to the interface for sending a secure message, file, or secure envelope.Signature tracking
Allows you to view the status of documents sent for signature (in progress, completed, expired).
Available only with Pro licenses.
6. Navigation Tabs (below the green buttons)
These tabs provide access to the main categories of settings and information for your account.
License details
Default tab. Displays all information related to your license, profile, security settings, and preferences.Electronic signature
Allows you to configure your signature marks when signing documents.
Available only with Pro licenses.Statistics and logs
Provides access to your message history and associated activity logs.

Related Articles
Edit a user’s information
The Secure Exchanges portal allows account administrators to edit the information and security settings of an existing user. Step 1 – Log in to the online portal Log in to your account via the Secure Exchanges online portal. Need help? How to log in ...Add a user to my account
To add users to your business account, two conditions must be met: You must be an account administrator. The email domain of the users you want to add must first be approved in your Secure Exchanges environment. See the domain approval procedure here ...View a user’s logs
The event log allows administrators to track actions performed by users in Secure Exchanges. Step 1 – Access user management Log in to your account via the Secure Exchanges online portal. Click Options → User Management. You will see the complete ...View user statistics
Secure Exchanges has introduced a new feature that allows administrators to view detailed statistics on user activity. This feature is available through the online portal under the “User statistics” section and provides clear insights into how the ...Assign a license to a user
1. Provision your account Before assigning a licence, make sure your account has the necessary licences available. You must first purchase and add licences to your account. Log in to your Secure Exchanges online portal. Purchase a new licence through ...